Showing posts with label fussy cut. Show all posts

Monday, January 9, 2023

Cappucino Dreaming with Hero Arts

Hello friends!  I'm excited to help Hero Arts introduce its January 2023 release, which is all about love --and it includes some great new digital products!  I love digital designs: They're versatile, inexpensive, easy to work with, and take up ZERO storage space in my overstuffed craft room.  


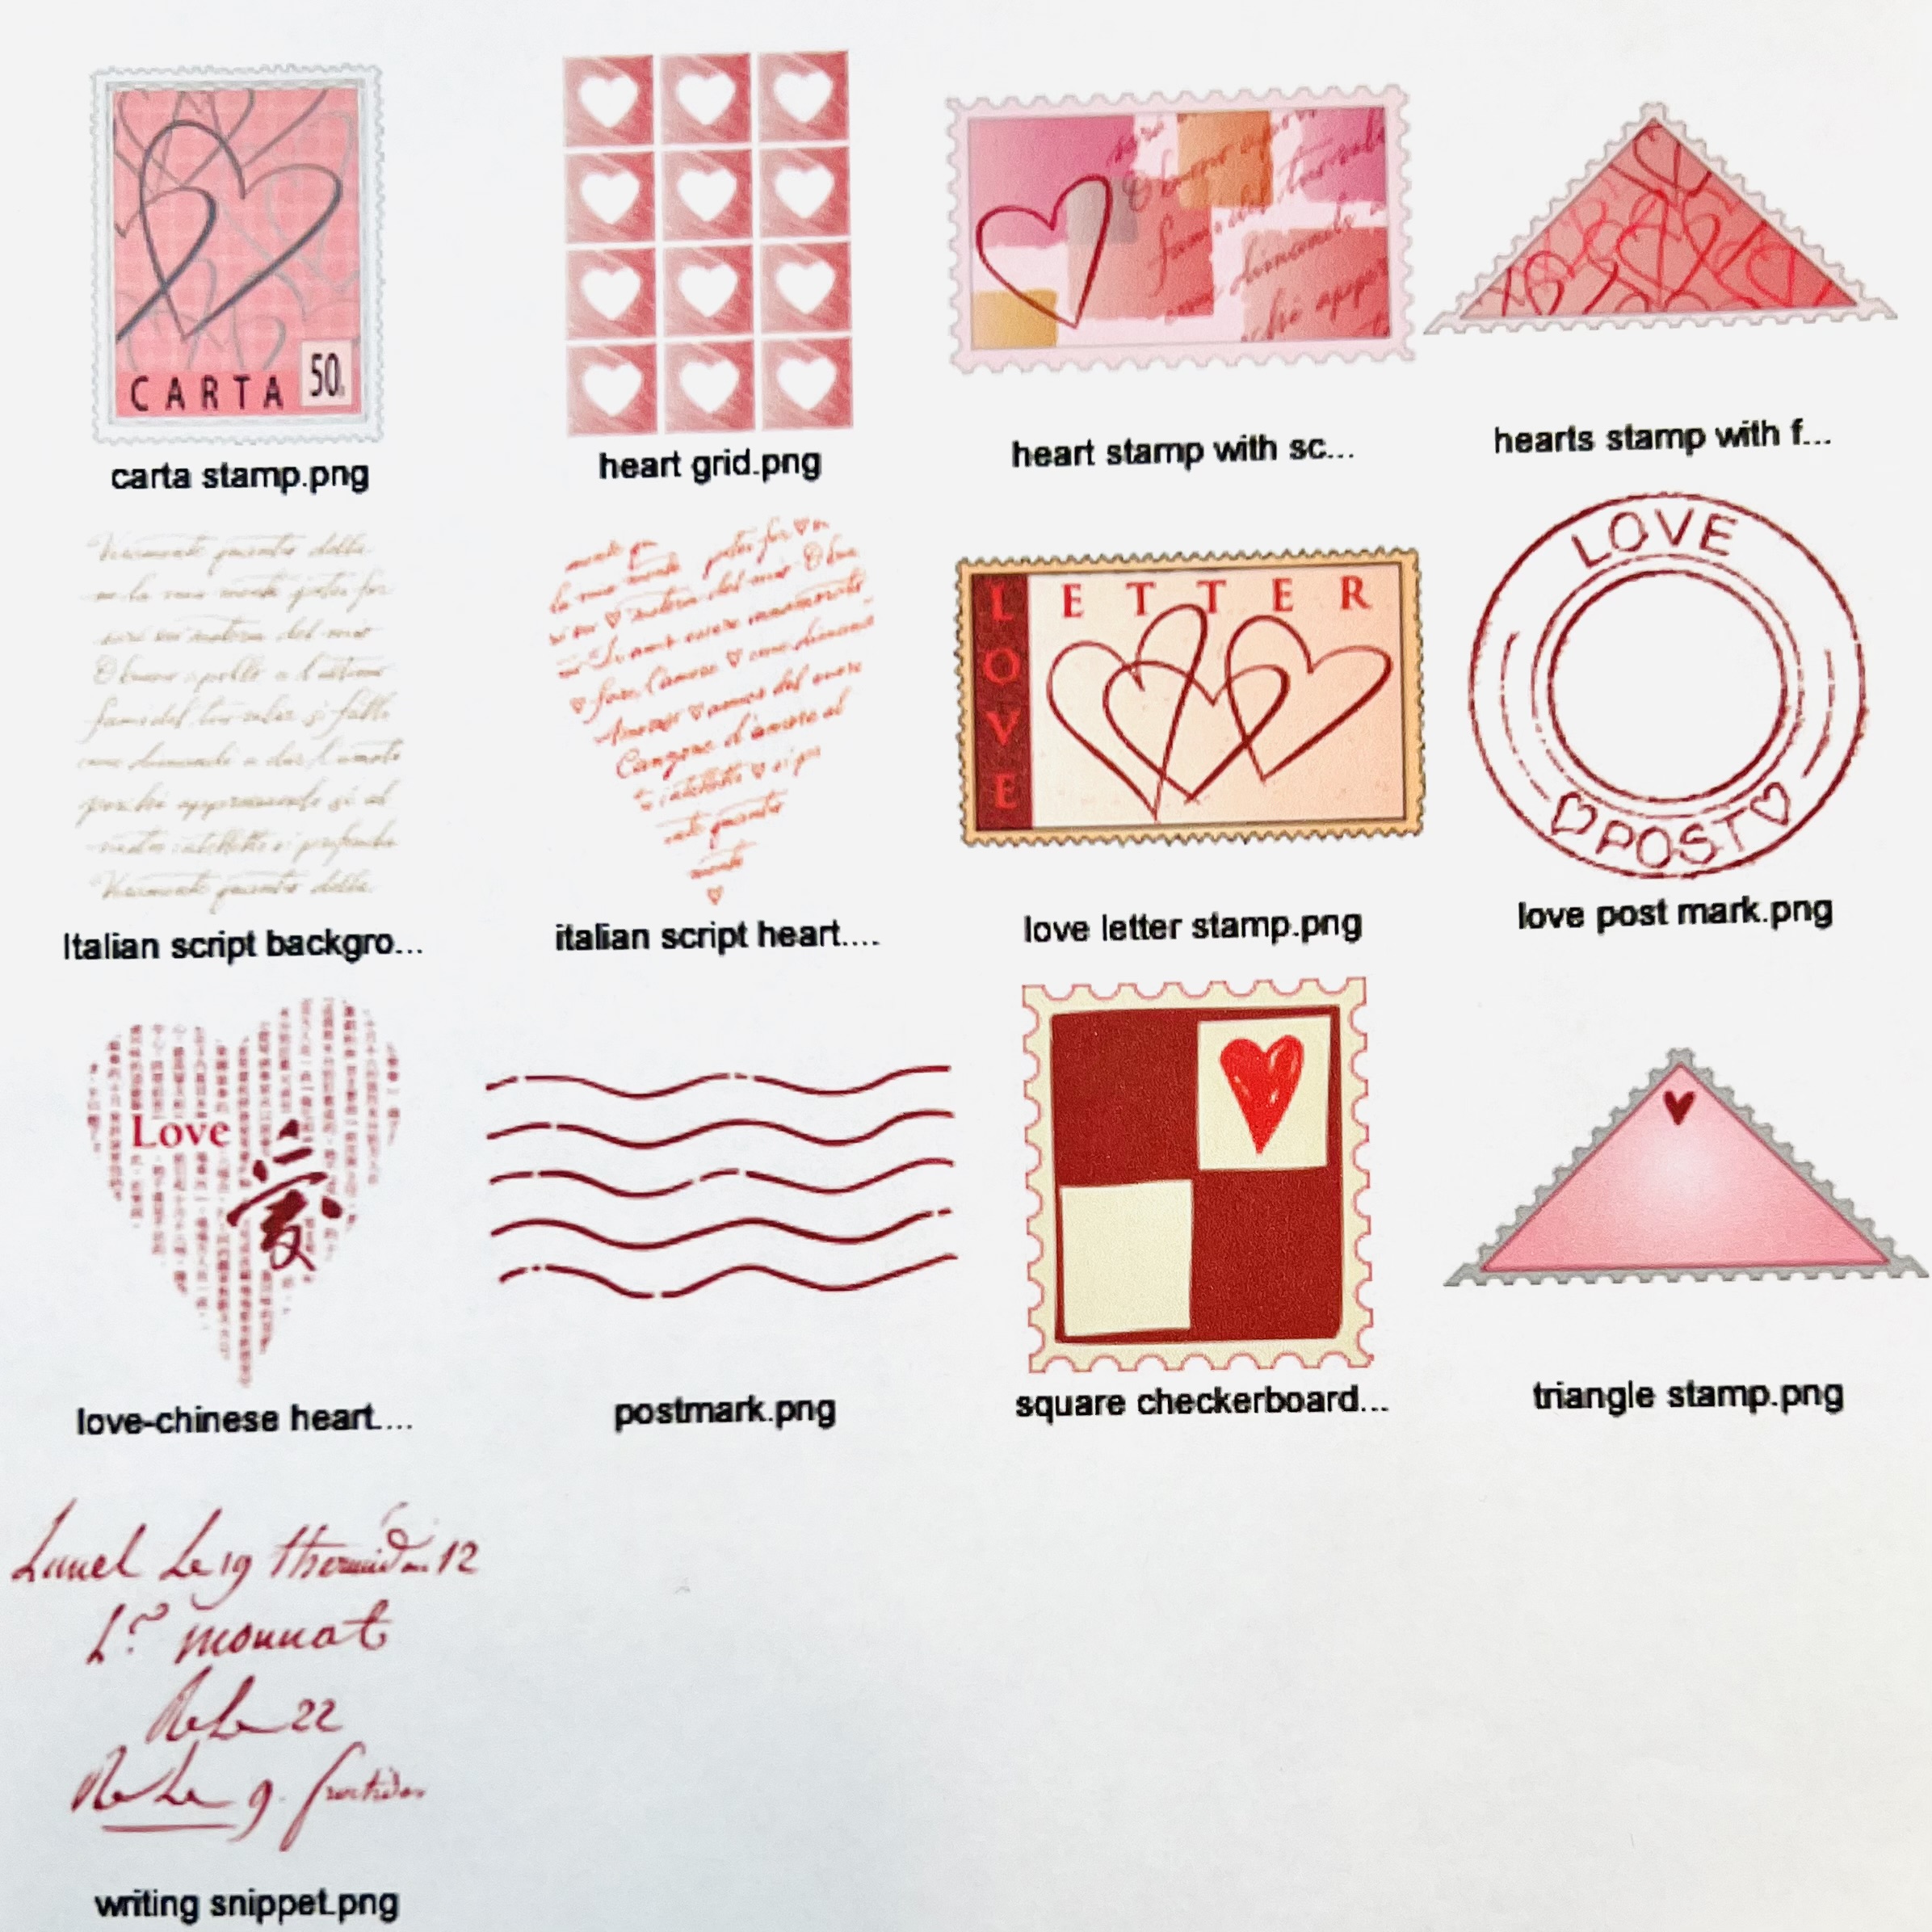
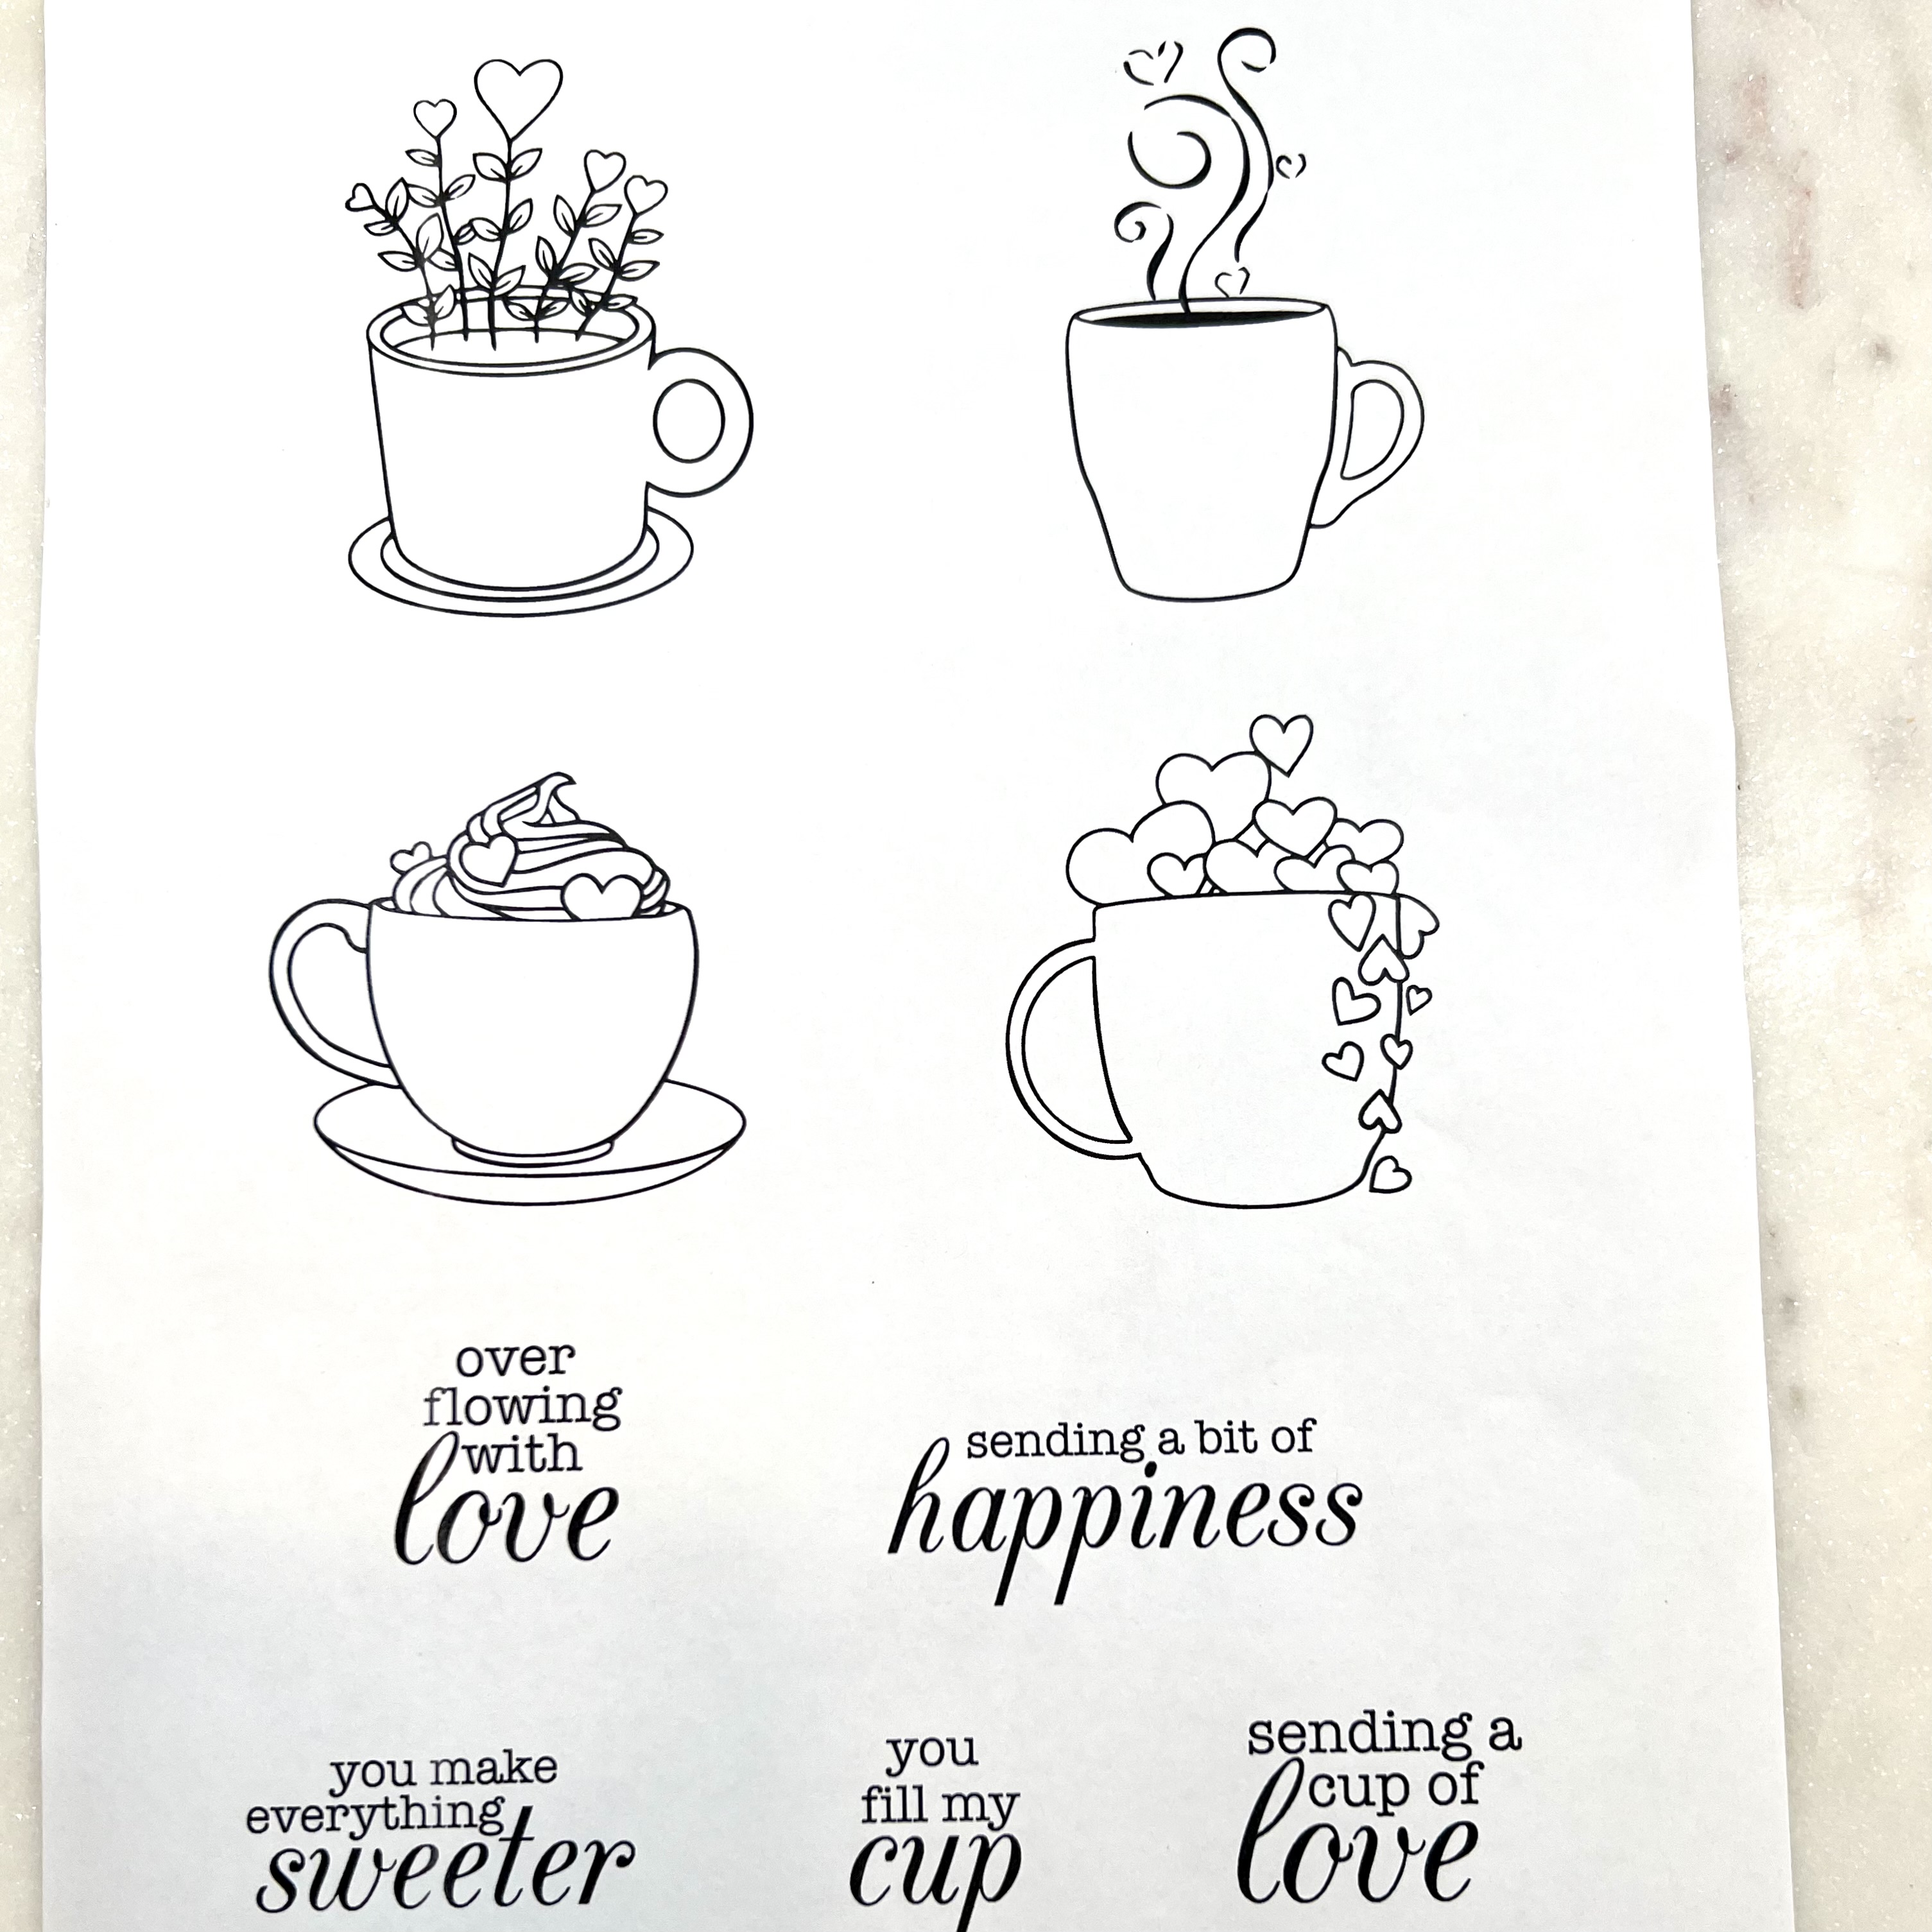
 My card uses images from both the Love Letter digital kit and the Valentine Mugs Printable

These are the contact sheets for each set -- each image is a stand alone and can be resized, colored, flipped and altered to suit your needs.  I'm NOT a digital wizard and use no special software to make these cards--in fact, I use free Google software that I access with my gmail address. 


How I made my card:  I printed the Italian script heart in black onto lightweight card stock using my laser jet printer and cut the page down to 4.75X6.75 inches and ran it through my Minc machine with gold toner foil.   You can skip the foil if you don't have a Minc or a laminator, but if you do. . . . Foil All The Things!

Next I inserted the "you fill my cup" sentiment into the whipped cream topped mug, and printed and foiled it and, after coloring it with my Copics, fussy cut it and put some foam pieces on the back to add dimension to my project.

I made a copy paper reverse mask to fit the large heart image and used Cotton Candy core ink to ink blend that big Italian heart.  Going a little too heavy-handed with my blending in one spot helped create dimension since I had to make some other deeper-colored sections of the heart. I love these happy accidents! 

I positioned the popped up mug at the bottom of that big heart, and plopped the whole panel onto a light gray (Hero Arts Granite) 5X7 (A7) card base.  And that's the card.  I'm calling it "Cappuccino Dreaming."


I'll be back later this month with some more Hero Arts cards using their new digital images. 

Until then, Happy Creating--I can't wait to see what you make!

Essie


Friday, June 11, 2021

Monochrome Madness, Part 1

 Hi Crafty Friends,

I'm in a monochromatic state of mind and wanted to share a few of my most recent monochromatic creations with you--all in summery shades of blue-green--from light pool to deep teal, but each in a very different style:  


I made all of these for our June monochrome challenge over at A Blog Named Hero--and my center (shaker) card is also for this week's Beyond the Blue Challenges.   And all the stamps and dies above are from Hero Arts!  I am getting pretty attached to this idea of a simple singular color palette--it gives my brain a chance to focus on other aspects of a card--texture, material, layout.  

In fact, I like this idea so much that I have one more one color card--and my second YouTube video to help illustrate a background technique I use in the card.  Perhaps you'll drop by again tomorrow for this Part 2 blog post of my monochromatic obsession.

I hope you like these cards--and that you'll visit these two challenge blogs for some more inspiration from my very talented co-designers and also to join the challenges.

Thanks for stopping by,

Essie  


Monday, March 1, 2021

Big Floral Fantasy Flower for A Blog Named Hero's March Challenge

 Hello crafty friends!  

It's month two for me on A Blog Named Hero's design team, and what a talented group of people I'm finding in my co-designers! (It's pretty intimidating, really...but also seems to push me to try new things.)

This month's challenge (and the chance to win a $50 gift certificate from Hero Arts!) may be my one of my favorite themes for cardmaking:  Florals.

the first cards I made were all about florals--and flowers are still my very favorite things to color.  I love all the color you can use with flowers and those color can be soft or strong, true to life or simply fantastical.

What I did:  For today's card I tried a technique that was new to me--I heat embossed the outline of this biiiiig flower (I mean really big--like five inches (13cm) across on an alcohol ink panel.  I wondered if I could successfully heat emboss the paper--I had used Yupo, which is basically a plastic paper--without melting it or making the embossing powder bubble. Turns out it worked out just fine. I'll be doing this again, for sure!

I fussy cut the flower and leaves; popped them up on a gel press background using foam squares (look closely and you'll see I the mail jumble peekaboo stamp doing duty as a background)with some spattered gold and green and black inks and paints to give that background some interest; and added one of my favorite sentiment dies that I embossed about 4 times, to get a really rounded standout effect. I matted my panel with black card stock, popped it onto my card base--et voila (as my French design team friend might say), a finished card!  

By the way:  This is a 5X7 inch (A7) card.  I've been making those a lot lately. I think that this large format is a real wow from the time the envelope arrives in your recipient's mailbox.  Also, I really love big bold images--and this larger format really helps show off those images.  Honestly, it would have broken my heart to cut up that big peony.

Have you tried a 5X7 card?  What about heat embossing?  Gel press?  Alcohol ink?  It seems this card--which features each of these--is sort of a demo of all of these techniques (I love to color, too, but a little experimentation is good fun, too!)

Can't wait to see your floral cards--I hope you'll play along with us!


Thanks so much for stopping by, 

Essie


A Big Bright Celebration with Hero Arts