Hi Friends,
Welcome to the December My Monthly Hero (MMH) blog hop! There's so much inspiration for you--I hope you're hopping all the way through.
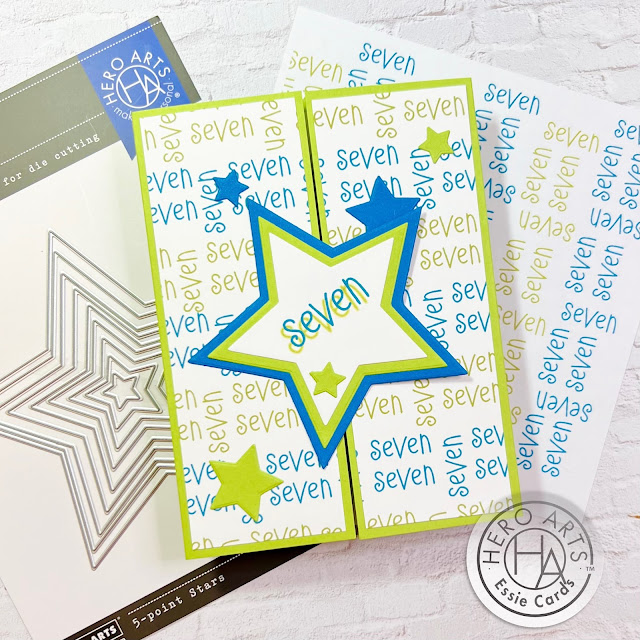
My crafty friend Deborah is the kind of grandmother I hope I'll be someday--active, fun, crafty, and completely devoted to her grandson, who is about to be seven. Today's card is inspired by her grandson, who turns seven next month.
Hero Arts has three fun and affordable digital kits to kick off the New Year--and this Whimsical Numbers Digital Kit, has numbers in a very cute script, that looked perfect for the occasion!
How To:
1. This is a simple gatefold card, using a bright green cardstock base that is 5.5 X 8.25 inches, scored and folded on both sides, 2.25 from each end. I've added a white panel to the inside, and it is the usual 4 X 5.25 inches.
2. Setting aside the card base, I used the word seven image from the Whimsical Numbers kit to make a quick background by copying that "seven" word multiple times into a blank Google slide, and moving the images around to create a strip of sevens that marched in a line, two horizontal sevens intersected with a vertical seven. I repeated it several times to ensure that the strip was longer than 4 inches --so it would be long enough to cover the A2 background I wanted. I grouped this strip of sevens, and copied the grouping several times, arranging them one below the other on the slide.
3. In Google slides under tools recolor, I found both a bright green and teal recolor option, so I chose those two colors, creating a green and teal color scheme.
4. After printing the slide onto lightweight cardstock (but you could also use plain old copy paper for this technique,) I cut two panels that fit just inside the "gates" of the gatefold: 2 X 5.25 inches--and mounted them on the gates.
5. I also took the word seven, blew it up, and did a shadow technique on a separate google slide, again using teal and bright green recoloring. After printing this out, I die cut the shadowed word on the smallest of three larger stars from Hero Arts 5-Point Stars Infinity die set. Using the green card base color and a teal that matched the background, I die cut two progressively bigger stars, and a few smaller stars in both colors.
6. The rest is kind of obvious: Mount the 3 big stars on top of each other, and then glue down the left half (ONLY!) of the star onto the left "gate." Add the random smaller stars in a way that pleases your eye and that's it. Minimal supplies for a maximally happy birthday card for a very well-loved young man!
I'd love to see your results with this month's new Hero products--digital and physical--there's so much new fun on its way!
Here's the full blog hop list so that you can see everyone else's creations:
As always, thanks so much for stopping by!
Essie


